© ArduTV 2025

Timer starting with a push button
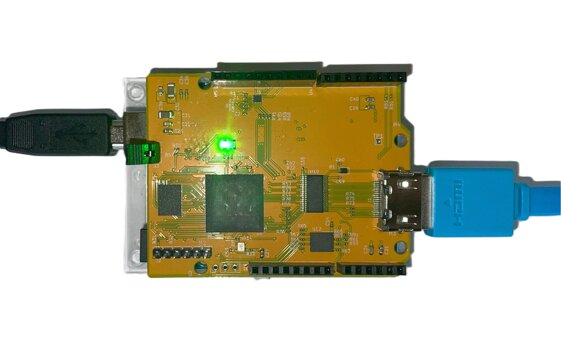
In this simple simple example we use one Arduino UNO, the ArduTV and one breadboard with a push button to have a timer on a television.
NOTE: The push-button is connected on one side to the UNO pin 9 and on the other side to GND through a 10K Resistor.
WATCH THE VIDEO AT THE END OF THE PAGE.
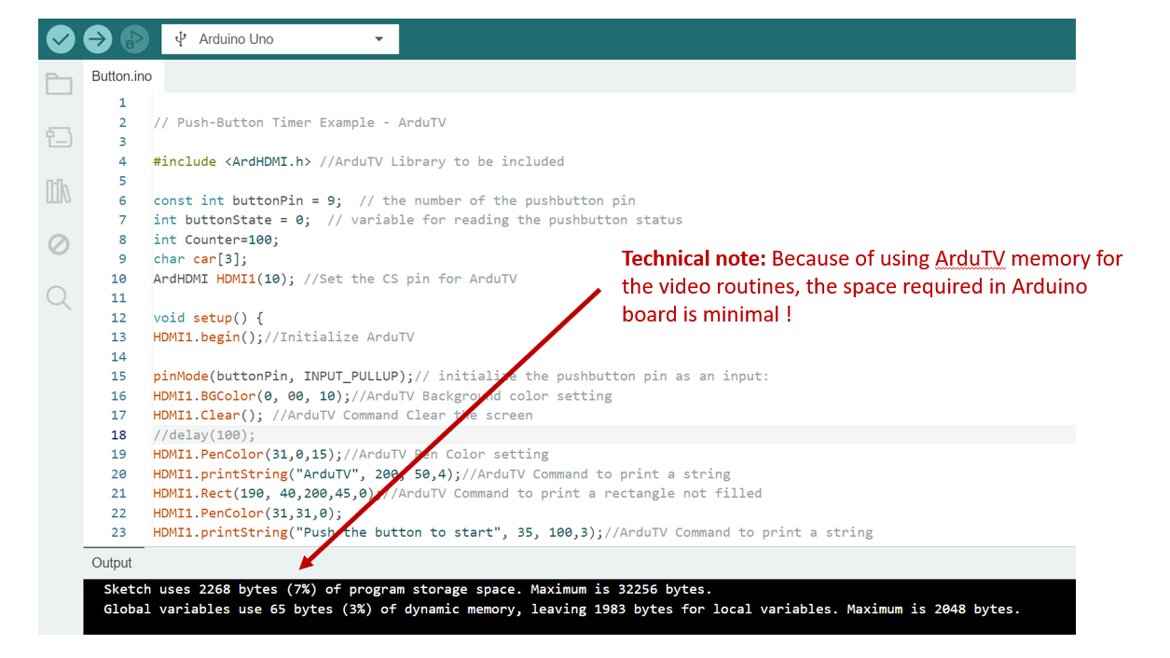
The code of the example
// Push-Button Timer Example - ArduTV
#include <ArduTV.h> //ArduTV Library to be included
const int buttonPin = 9; // the number of the pushbutton pin
int buttonState = 0; // variable for reading the pushbutton status
int Counter=100;
char car[3];
ArduTV HDMI1(10); //Set the CS pin for ArduTV
void setup() {
HDMI1.begin();//Initialize ArduTV
pinMode(buttonPin, INPUT_PULLUP);// initialize the pushbutton pin as an input:
HDMI1.BGColor(0, 00, 10);//ArduTV Background color setting
HDMI1.Clear(); //ArduTV Command Clear the screen
//delay(100);
HDMI1.PenColor(31,0,15);//ArduTV Pen Color setting
HDMI1.printString("ArduTV", 200, 50,4);//ArduTV Command to print a string
HDMI1.Rect(190, 40,200,45,0);//ArduTV Command to print a rectangle not filled
HDMI1.PenColor(31,31,0);
HDMI1.printString("Push the button to start", 35, 100,3);//ArduTV Command to print a string
HDMI1.PenColor(20,31,0);
HDMI1.printString("10:0", 200, 200,5);
}
void loop() {
buttonState = digitalRead(buttonPin); // read the state of the pushbutton value:
delay(100);
if (buttonState == HIGH) { // check if the pushbutton is pressed. If it is, the buttonState is HIGH:
//Button Not pushed
} else {
HDMI1.printchar(' ', 200, 200,5);
while (Counter>0){
delay(100);
HDMI1.PenColor(20,31,0);
car[0]=Counter%10+48;
car[1]=Counter/10+48;
if (Counter<30){ //change color when the counter is less than 3 seconds
HDMI1.PenColor(31,00,0);
}
HDMI1.printchar(car[0], 200+(5*8*3), 200,5);
HDMI1.printchar(':', 200+(5*8*2), 200,5);
HDMI1.printchar(car[1], 200+(5*8*1), 200,5);
Counter=Counter-1;
}
while(1){//Flashing background with the "ended" string
HDMI1.PenColor(31,31,31);
HDMI1.BGColor(0, 00, 10);
HDMI1.printString("ENDED!", 185, 200,5);//ArduTV Command to print text
HDMI1.BGColor(31, 00, 10);
delay(100);
HDMI1.printString("ENDED!", 185, 200,5);//ArduTV Command to print text
delay(100);
}
}
}

Please watch the video
In the video the running example (sorry for the "home made" :), but we are not a company!).
© ArduTV 2025